The best plants to grow in test tubes are those that root or germinate quickly, tolerate high humidity and confined space, and don't need a massive root zone to get started. In practice, that means small-leafed herbs like mint and basil from cuttings, easy-rooting tropicals like pothos and African violet from leaf or stem cuttings, fast-germinating seeds like radish or grass species, and orchids like Dendrobium if you want to go the tissue-culture route. All of these can establish themselves in a test tube within days to a couple of weeks, and all can be transplanted out before the confined space becomes a limitation.
Best Plants That Can Grow in Test Tubes: Guide

Dr. Marcus Weatherby
2 May 2026
What a test tube actually gives a plant (and what it doesn't)
Before picking a plant, it helps to understand what conditions a test tube creates. The volume is tiny, typically 10 to 50 ml, which means almost no buffer for moisture, temperature, or gas exchange. Humidity inside a sealed or loosely capped tube climbs fast and stays high. Light can reach the plant from the sides and top, but glass can filter certain wavelengths depending on its composition. Because the space is so small, gas exchange is severely limited: CO2 depletes and ethylene accumulates unless the cap allows some ventilation, which is why loosely fitted caps or foam plugs outperform fully sealed lids.
What this adds up to for plant selection is: you want species that naturally handle high relative humidity without rotting, that can root or germinate in a sterile or near-sterile medium, and that have compact enough growth that they won't outgrow the tube before you're ready to move them. For a similar compact, high-humidity setup, you can also adapt these principles to plants that can grow in wine bottles. Plants from tropical rainforest understories, wetland margins, or humid forest floors are naturally pre-adapted. Desert plants, large-seeded trees, and anything with aggressive root systems are a poor fit. If you are wondering what counts as woody plants, you should focus on species with woody stems rather than soft, herbaceous growth.
- Volume: 10 to 50 ml in a standard test tube, meaning almost zero buffer against overwatering or drying out
- Humidity: naturally climbs to near 100% RH inside a closed tube, which suppresses transpiration and can encourage rot
- Light: glass transmits most visible light well, but tubes should be positioned to avoid direct hot sun, which cooks the contents
- Medium: water, agar gel, or moist perlite/sand all work depending on the plant and method
- Gas exchange: critical and often overlooked — a loosely fitted foam or cotton plug is better than a hard sealed cap for most plants
Best plants for test-tube growing, sorted by how you start them
There are three practical starting methods for test tubes: water or gel cuttings, seed germination, and agar-based tissue culture (which is closer to true micropropagation). Each method favors different plants. Here's where to start depending on your skill level and what you have on hand.
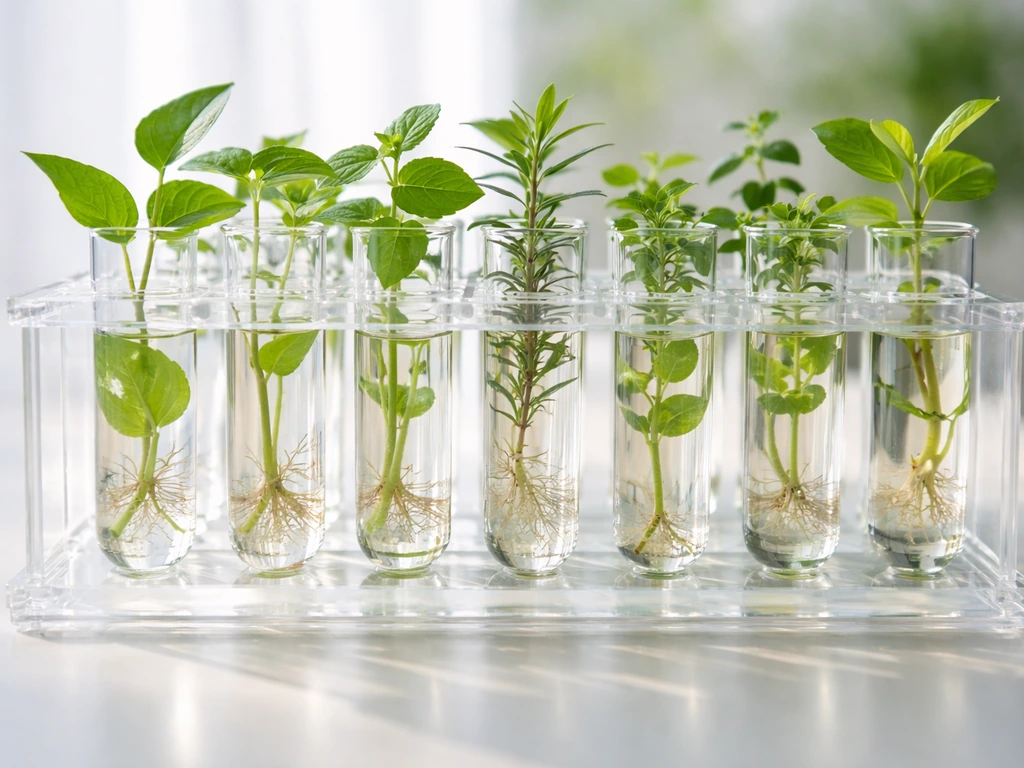
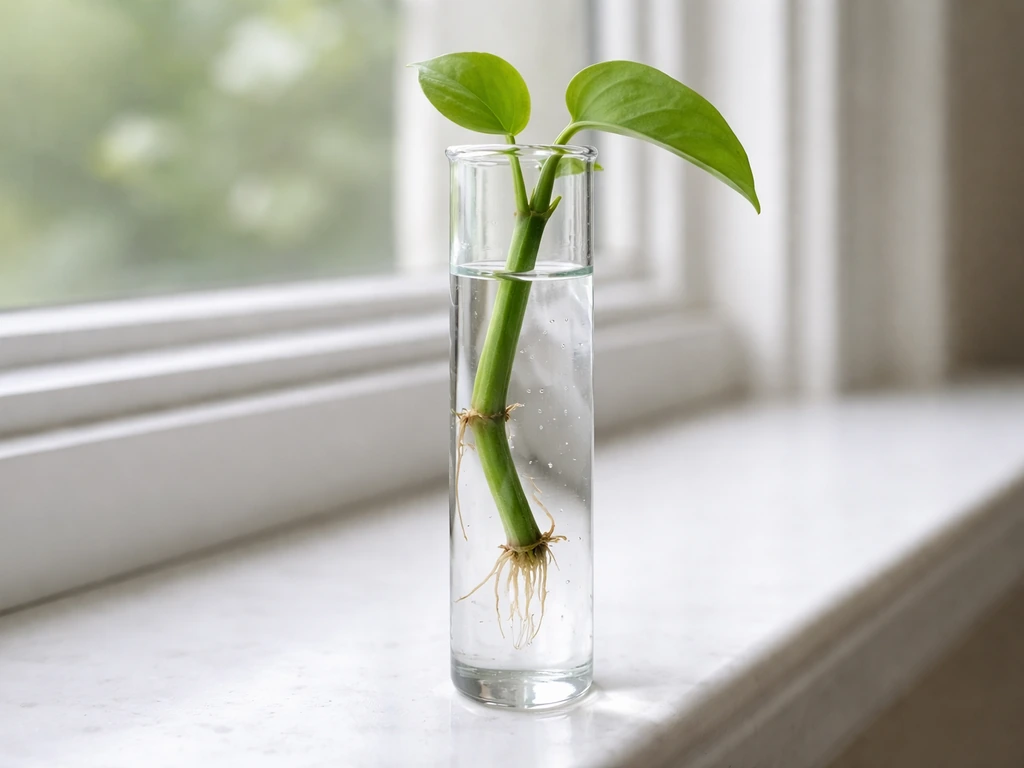
Cuttings in water or gel (easiest, fastest results)
This is the most beginner-friendly route and requires almost no special equipment. Pothos (Epipremnum aureum) is the single best choice here: cut a node, drop it in water, and you'll see roots in 5 to 10 days. Mint (Mentha spp.) is nearly as easy and roots in under a week. Basil works but is slightly more prone to stem rot if the cut end sits in stagnant water too long. African violet leaf petioles root well in water and are compact enough to fit without crowding. Impatiens stem cuttings root in 7 to 14 days. All of these species naturally occur in humid, water-adjacent or rainforest-margin environments, which is why they tolerate the high-humidity test tube environment so readily.
Seeds in moist medium (fast, no cutting needed)
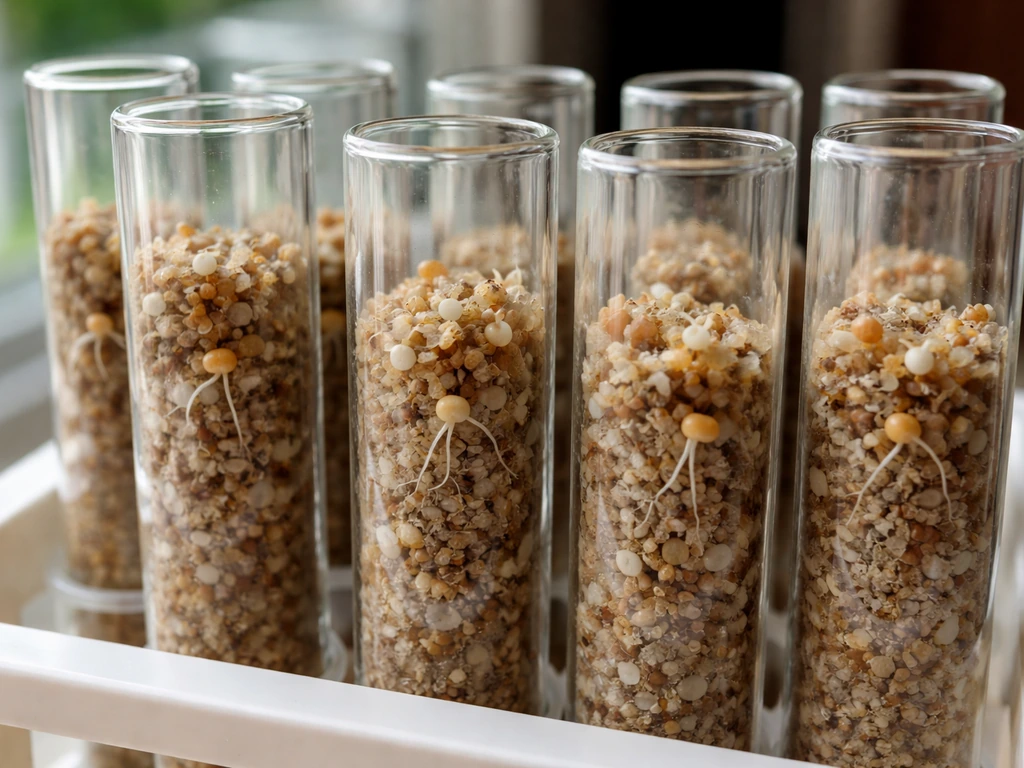
Small, fast-germinating seeds work well in test tubes filled with moist vermiculite, coco coir, or perlite. Radish germinates in 3 to 5 days, making it the best choice if you want to see fast results. Grass seeds (ryegrass, wheat, barley) are also excellent for demonstrations or experiments. Micro-greens like mustard and cress germinate within days and stay compact. Avoid large seeds like beans or corn: they germinate fine but exhaust the tube space almost immediately. Fern spores, if you can source them, germinate beautifully in a humid test tube environment and are naturally adapted to humid, shaded forest floors.
Agar-based tissue culture (most control, steeper learning curve)
This is the closest to true laboratory micropropagation. You prepare a sterile agar medium (Murashige and Skoog formula is standard), pour it into sterilized tubes, let it set, then introduce a surface-sterilized explant (shoot tip, nodal segment, or leaf piece). Easy beginner species for tissue culture include Dendrobium orchids, African violets, strawberry runners, and Chrysanthemum shoot tips. These species are all recognized in the tissue culture community for high regeneration capacity and responsiveness to in vitro conditions. The trade-off is that you need clean technique: contaminants appear on agar within a few days to a week, and once a tube is contaminated, it's typically lost.
| Plant | Starting Method | Time to Roots/Germination | Difficulty | Natural Habitat |
|---|---|---|---|---|
| Pothos (Epipremnum aureum) | Cutting in water | 5–10 days | Very easy | Tropical forest understory |
| Mint (Mentha spp.) | Cutting in water or moist medium | 5–7 days | Very easy | Humid wetland margins, stream banks |
| Basil | Cutting in water | 7–14 days | Easy | Warm, humid tropical/subtropical |
| African violet | Leaf petiole cutting in water or agar | 10–21 days | Easy | Humid forest floors, East Africa |
| Radish | Seed in moist medium | 3–5 days | Very easy | Temperate, well-watered soils |
| Ryegrass / wheat | Seed in moist medium | 3–7 days | Very easy | Temperate grasslands |
| Fern spores | Spores on moist agar or coir | 2–4 weeks | Moderate | Humid forest floors, shaded ravines |
| Dendrobium orchid | Shoot tip on MS agar | 3–6 weeks | Advanced | Humid tropical forest canopy |
| Strawberry runner | Nodal segment on MS agar | 2–4 weeks | Moderate | Temperate meadows, forest edges |
Setting up your test tube, step by step
Choose your medium based on your method
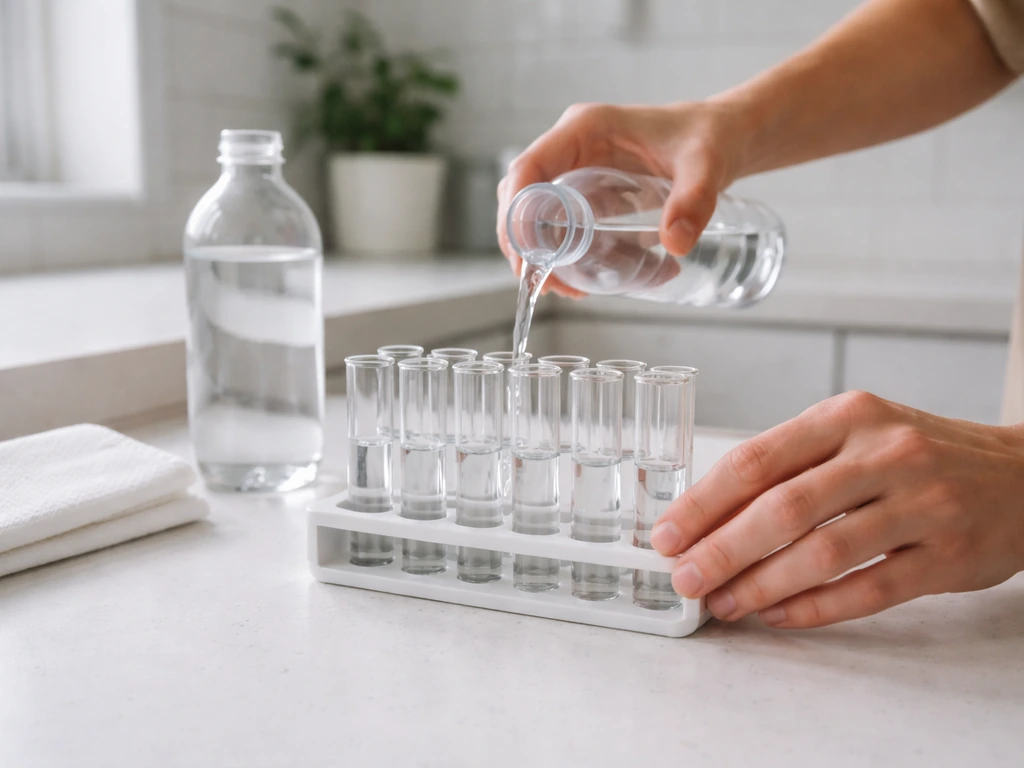
For water cuttings, fill the tube about one-third to halfway with clean tap water or filtered water. Change it every 3 to 4 days to prevent stagnation. For seed or cutting propagation in a solid medium, moist perlite, vermiculite, or a 50/50 coco coir and perlite mix all work well. Fill the tube no more than halfway so there's air space above. For agar-based tissue culture, you'll prepare MS medium, adjust pH to between 5.6 and 5.8 using drops of sodium hydroxide or dilute hydrochloric acid, pour into tubes, then autoclave at 121°C for 15 to 20 minutes at 15 psi. If you don't have an autoclave, a pressure cooker set to 15 psi for 15 minutes is a workable substitute for small batches.
Sterilization and cleanliness (don't skip this)
For water and moist-medium methods, cleanliness matters even if full sterility isn't the goal. Wash tubes with hot soapy water, rinse thoroughly, and let dry before use. For tissue culture, you need actual sterilization: autoclave your medium, work near a flame or in front of a laminar flow hood if you have one, and surface-sterilize explants by dipping them in a 10% bleach solution for 10 to 15 minutes, then rinsing with sterile water. Even for casual cuttings, avoid letting cut plant material sit in water that's been standing in a warm room, because fungal and bacterial contaminants become visible within days to a week and can overwhelm a small tube fast.
Positioning the tube for light
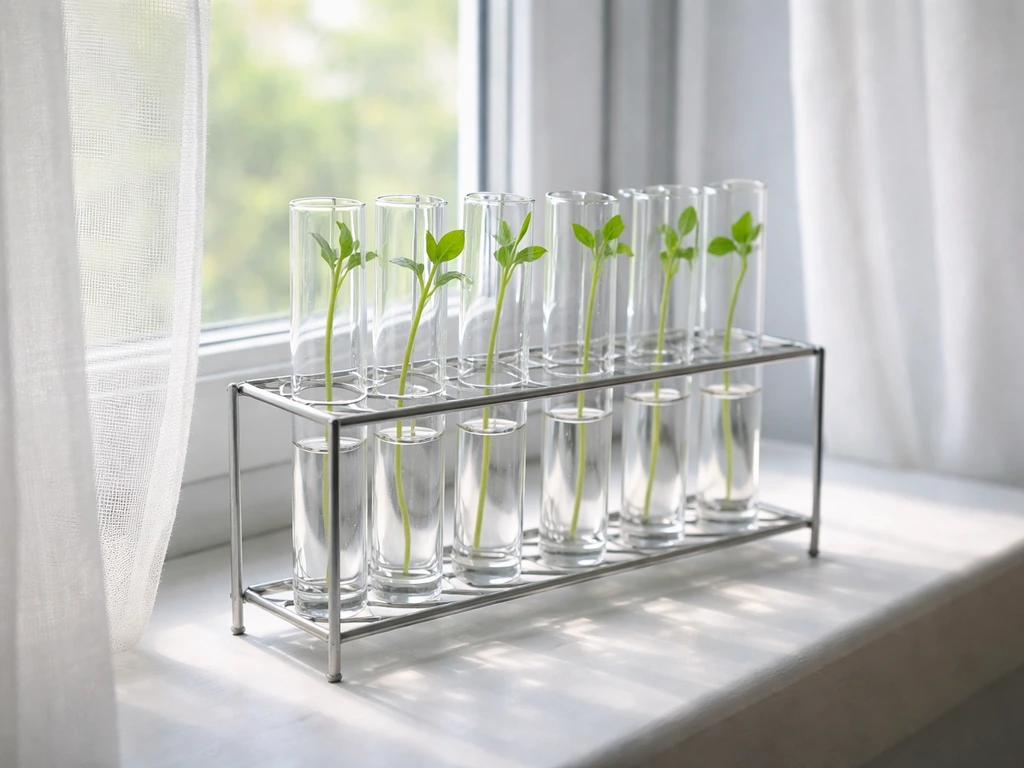
Angle matters more than most people expect. A test tube rack that positions tubes vertically in a north-facing window gives diffuse, indirect light, which is ideal for the first week or two regardless of species. East-facing windows with morning sun work well for most cuttings and seedlings. Avoid direct midday or afternoon sun on glass tubes: the glass concentrates heat and can cook the plant and medium quickly. For tissue culture, a grow light set to a 16-hour photoperiod at around 100 µmol/m²/s is a practical target, which sits at the low but functional end of the range for most small plantlets.
Caring for your plants in the first weeks
The main things to watch in the first weeks are condensation, temperature, and signs of rot or contamination. Condensation inside the tube is normal and not a problem unless it's pooling at the base and drowning the plant. If you see excessive pooling, tilt the tube slightly or loosen the cap to allow a bit of air exchange. Keep tubes between 18 and 26°C for most temperate and tropical species. Below 15°C, rooting slows dramatically; above 28°C, the risk of fungal rot increases, especially in high-humidity conditions.
For water cuttings, check every 2 to 3 days and top up evaporated water. Look for white root nubs forming at the nodes. For moist-medium setups, resist the urge to add more water: the medium should be damp, not saturated. For agar tubes, check daily in the first week for any signs of fuzzy growth (mold) or cloudy zones (bacterial contamination) near the explant. If you see either, pull and discard that tube rather than waiting to see if it clears up, because it won't.
When and how to move plants out of the tube
Don't rush the transplant. The biggest mistake beginners make is pulling a cutting out of a tube the moment they see a single small root. Wait until you have multiple roots that are at least 1 to 2 cm long, a stable green stem, and at least one set of leaves that look healthy. For seedlings, wait until the first true leaves appear (not just the seed leaves). For tissue-culture plantlets, objective criteria used by professionals include root length, stem length, leaf count, and longest leaf length. A Dendrobium plantlet, for instance, should have 2 to 3 leaves and visible root tips before transfer.
The transition out of a test tube is a humidity shock. Inside the tube, relative humidity can be near 100%. Your room air might be 40 to 60%. Dropping straight from one to the other causes wilting and leaf collapse, especially in tissue-culture plants whose stomata aren't functioning normally after weeks in a closed environment. The fix is gradual acclimatization: pot the plant into a small container with moist mix, then cover it with a clear plastic bag or humidity dome for the first week. Each day, open the bag a little more to slowly lower humidity. Mist the foliage once or twice a day if needed. Penn State research shows that mist or humidity protection for 1 to 3 weeks while new roots and leaves form dramatically improves survival. Wean off gradually, not abruptly.
- Wait for multiple roots (1–2 cm minimum) and at least one set of healthy true leaves before removing from the tube
- Pot into a small container with moist, well-draining mix (perlite-heavy works well)
- Cover with a clear plastic bag or humidity dome immediately
- Each day, open the dome a little more to reduce humidity gradually over 7 to 14 days
- Keep in bright, indirect light and avoid temperature swings during this transition period
- New root formation in the potting mix takes several days to a week — don't disturb the plant during this time
Matching your plant choice to your local climate and season
Your local climate doesn't change what can survive inside a controlled test tube, but it absolutely affects what happens when you transplant out. If you're starting plants in spring (which for most of the Northern Hemisphere means right now, in late April or May), you're in a good position: outdoor temperatures are mild, humidity is naturally higher, and light hours are increasing. This is the ideal window for transitioning cuttings and seedlings out of test tubes into their permanent growing environment.
In tropical and subtropical climates (year-round warmth, 20 to 35°C), nearly all the species on this list thrive both in and out of the tube. Pothos, African violet, and Dendrobium are all native to humid tropical zones and will transition out well at any time of year. In temperate climates with cold winters, time your transplants so the plant goes out when nighttime lows are consistently above 10°C for warm-season tropicals, or into an indoor pot for species like mint that can handle cooler conditions. In arid or semi-arid climates, the post-tube transition is trickier because ambient humidity is low. Use a longer acclimatization period under a dome, and consider transplanting into a covered cold frame or humid windowsill rather than straight to outdoor conditions.
The habitat-matching principle also helps you choose what to grow in the first place. If you live in the Pacific Northwest or another temperate rainforest zone, ferns and mosses thrive naturally in your outdoor conditions and will transition out of a test tube into your garden easily. If you live in the Pacific Northwest or another temperate rainforest zone, ferns and mosses thrive naturally in your outdoor conditions and will transition out of a test tube into your garden easily what plant can grow in wolvendom. If you want to expand beyond typical ferns and mosses, look for plants that can grow on wood, since many species naturally take hold on rotting logs or tree bark. In particular, some plants can be trained to grow on driftwood for a natural-looking setup. If you're in a Mediterranean climate with dry summers, herbs like basil and mint do well in tubes but need protection after transplanting. This same thinking applies when growing plants in cups, wine bottles, or on bark and driftwood: the container changes, but the need to match native humidity and temperature conditions at transplant time stays constant.
When things go wrong: fixing the most common problems
No roots forming
The most common reason cuttings don't root is that the water or medium is too cold. Rooting slows sharply below 18°C for most species. Move tubes to a warmer spot, or set them near a heat mat if you have one. A second cause is that the cut was made poorly: stems should be cut just below a node at a clean 45-degree angle with a sharp blade, not scissors, which can crush tissue. If you're using water, add a tiny piece of willow bark or a drop of diluted liquid rooting hormone to the water, as willow contains natural indolebutyric acid (IBA), the same rooting compound used in commercial hormone products.
Algae growth in water tubes
Green or brown algae growing in water tubes is caused by light hitting the water and nutrients from the plant feeding algae growth. It's not immediately fatal to the cutting, but it competes for oxygen and can harbor bacteria. Fix it by wrapping the lower half of the tube in aluminum foil or dark paper to block light from the water. Change the water every 2 to 3 days to prevent buildup. If algae is already established, transfer the cutting to fresh water in a clean tube.
Mold and fungal contamination
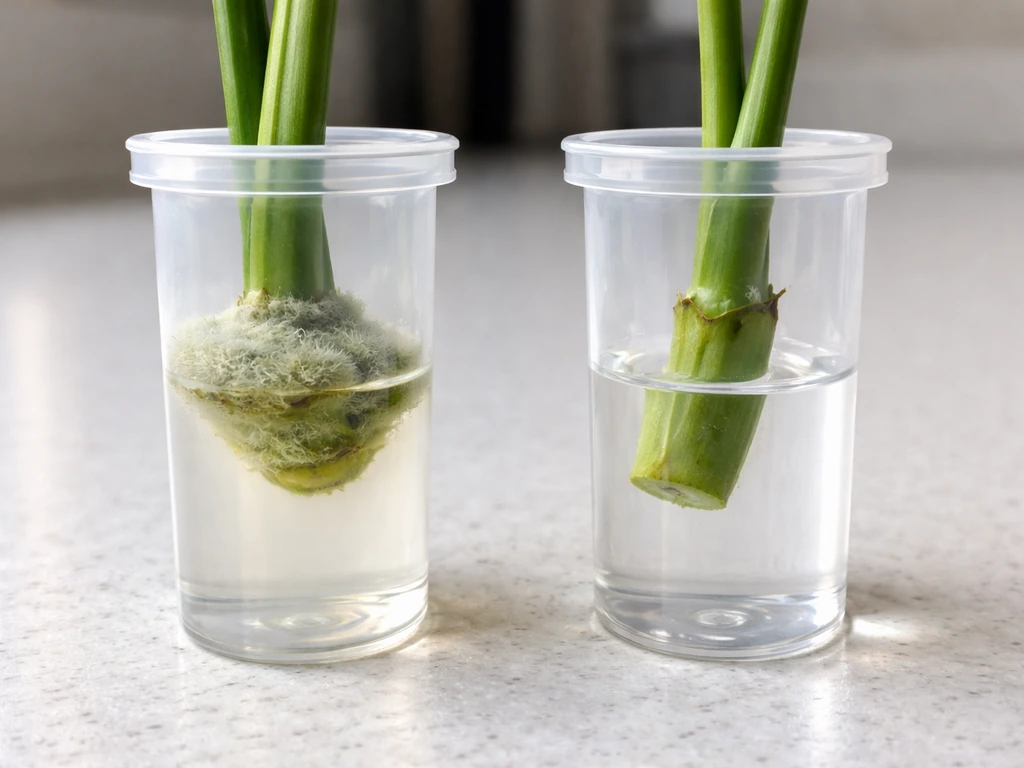
Fuzzy mold growth, especially at the waterline or on cut stems, is usually caused by excess moisture and poor air circulation. Reduce the water level so cut ends are just above the waterline and roots are touching. For moist-medium setups, make sure you're not overwatering. The pathogens most commonly involved in seedling rot (Pythium, Rhizoctonia, Fusarium) all thrive in saturated, poorly ventilated conditions. Improve gas exchange by switching from a hard cap to a loose foam or cotton plug. For agar-based tissue culture, visible mold or bacterial slime near an explant means that tube is contaminated and should be removed immediately before it spreads to neighboring tubes.
Slow growth after germination
If seedlings germinate but then stall, they've usually run out of CO2 (common in fully sealed tubes), they're not getting enough light, or the medium lacks nutrients. Loosen the cap to improve gas exchange. Move to brighter indirect light. For seeds in plain moist media, add a pinch of diluted balanced liquid fertilizer (10% of normal strength) to the water used to moisten the medium, which gives seedlings enough nutrition to put on their first leaves.
Seedlings collapsing at the soil line (damping off)
This is the most demoralizing failure: seedlings look healthy, then suddenly fall over and die at the base. This is damping off, caused by Pythium and related water molds that thrive in wet, poorly ventilated conditions. The fix is prevention: use a sterile, well-draining medium, never overwater, and make sure the tube has some air exchange. Once damping off appears in a tube, the seedlings in that tube are almost certainly lost. Start fresh with cleaner conditions and drier medium.
FAQ
Can I reuse test tubes for multiple plant cycles, and how do I clean them safely?
Yes, but only if you disinfect well. After washing with hot soapy water, soak the tubes in a dilute disinfectant solution (for example, dilute bleach, then rinse thoroughly). Let them dry completely before starting, because leftover moisture and residues can raise contamination risk, especially for agar and seed setups.
Do plants need nutrients inside test tubes, or will they root without fertilizer?
Most cuttings and early seedlings can start using reserves from the cutting or seed, but nutrients become important later. For solid moist media, you can add a very weak fertilizer only after germination begins (about 10% strength) to avoid burning. For agar tissue culture, use a complete medium like MS, not household plant food.
What’s the difference between a loosely capped tube and a fully sealed tube for rooting?
Loosely capped or foam-plug setups allow limited gas exchange, which reduces CO2 depletion and ethylene buildup. Fully sealed tubes tend to become oxygen-poor and can promote rot or stalling. If you see persistent pooling condensation or cloudy “off” smells, loosen the cap sooner rather than later.
How much light is enough, and do I need to rotate the tubes?
You usually do not need intense direct light. Bright indirect light is enough for the first stages, and rotating once every 2 to 3 days helps prevent leaning toward one side. Avoid midday sun through glass, because heat spikes can quickly overheat a small volume.
Why did my seedlings germinate but then collapse, even though they looked fine at first?
That pattern often indicates damping off at the base, typically from water molds in wet, poorly ventilated conditions. The most effective fix is to remove that tube and restart with a drier medium and more airflow. If you catch it early, reducing moisture and loosening ventilation can help, but once collapse starts, it often does not recover.
Are there plants I should avoid because they outgrow the tube too fast?
Yes. Avoid fast, vining climbers and species with aggressive, thick root systems, even if they tolerate humidity. Also be cautious with plants that form long tendrils or many roots quickly, because the tube will become a cramped, rot-prone “pool” before you can transplant.
What’s the best way to transplant out without shocking the plant?
Use gradual acclimatization, not an immediate removal of humidity protection. Pot into a small container with a moist mix, cover with a humidity dome or clear bag for about a week, then open gradually. Keep the plant out of direct sun during the first several days so new roots can catch up.
How do I know whether condensation is helping or hurting?
Condensation itself is normal, it indicates a high-humidity microclimate. It becomes harmful when water pools at the base and the plant tissue stays saturated for long periods. If you see pooling, reduce water level (for water tubes), tilt slightly, or use a more breathable closure.
My water tube has algae, should I throw everything out?
Not always. If algae is mild, wrapping the lower half of the tube to block light and refreshing water every 2 to 3 days can solve it. If the cutting shows browning at the cut end or the water turns cloudy fast, transfer to a clean tube with fresh water to prevent bacterial escalation.
Can I grow plants from store-bought cuttings or grocery herbs in test tubes?
Often yes for the easier species, but expect variable results because store supply chains affect plant vigor and cleanliness. Choose fresh, healthy stems, trim with a clean blade, and avoid woody or thick, slow-to-root material. Let any exterior water dry off before placing in a tube to reduce surface contamination.
What temperature target should I use if I don’t have a controlled setup?
Aim for roughly 18 to 26°C for most species. If your room dips below 15°C at night, rooting and tissue repair slow dramatically. A simple heat mat under the tube rack (without overheating the glass) can keep temperatures stable.