Plants grow in any spot that gives them the four basics: sunlight, water, soil, and space. For kids and beginner teachers, the most useful 'places' to start are the ones right in front of you: a sunny windowsill, a raised bed in the schoolyard, a shaded corner near a building, a patch of lawn, or even a sidewalk planter. A common way to think about this is to name three places where plants grow, like a sunny windowsill, a raised garden bed, and a shaded spot near a building. Once you know how to read a spot (how many hours of direct sun it gets, how quickly the soil drains, what season you're in), matching the right plant to that place becomes straightforward.
Places Where Plants Grow: Kindergarten-Friendly Guide

Dr. Marcus Weatherby
19 May 2026
What 'places plants grow' means in a kindergarten or school setting
The phrase 'places where plants grow kindergarten' is actually two questions in one. It might mean: what locations do young children study as part of early-science learning? Or it might mean: where can a teacher physically grow plants in or around a kindergarten building? Both are worth answering directly.
For early learners (ages 4 to 6), the goal is to name and observe real plant habitats: gardens, forests, fields, ponds, deserts, and the schoolyard itself. These are the 'places plants grow' that show up in kindergarten science units. Children at this age are learning that plants are not random, that a cactus lives somewhere dry and sunny while a fern lives somewhere damp and shaded. That core idea, which this site explores in depth across climate zones and habitats, is exactly what kindergarten plant lessons are building toward.
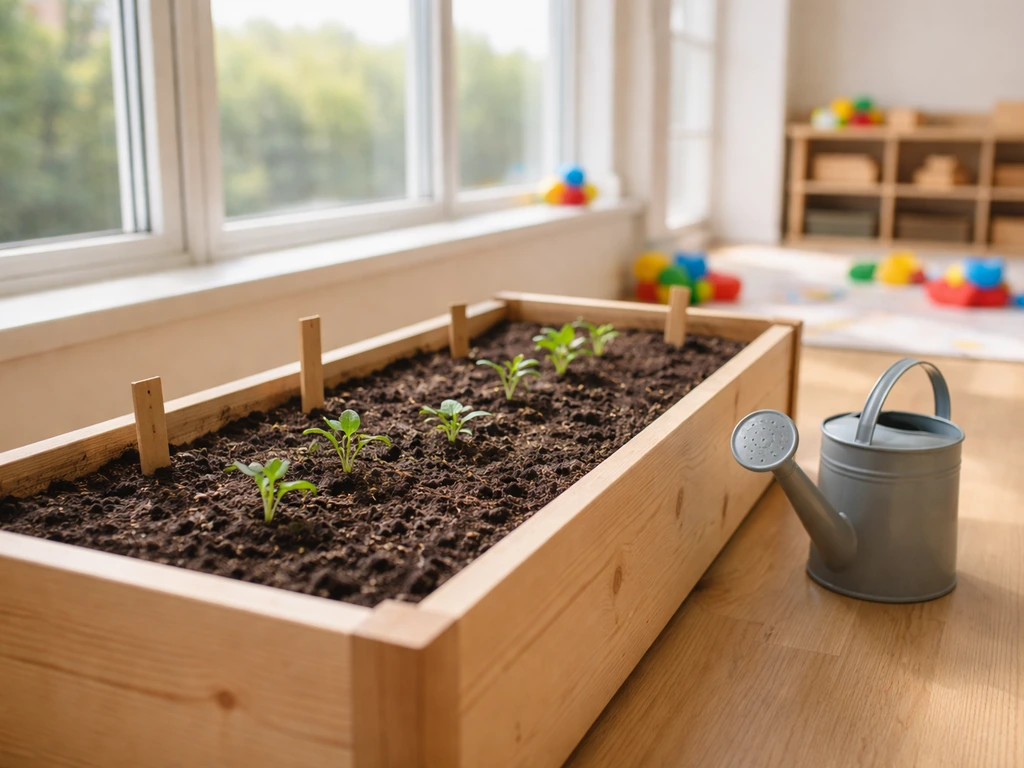
For teachers and parents setting up an actual growing space, 'places' means something more physical: a windowsill, a raised bed, a container garden, a shaded spot beside the school building. The rest of this guide focuses on how to assess those real places and get something growing in them today.
Quick spot-check: sunlight, water, soil, and space
Before you pick a plant, spend a few minutes reading the location. This is the same logic that explains why certain plants dominate rainforest floors while others only survive in open prairie: the environment drives the match, not the other way around.
Sunlight
Count the hours of unobstructed sunlight the spot actually receives between roughly 9 a.m. and 5 p.m. Avoid counting early-morning or late-afternoon sun only, since that light is low-intensity and does not sustain most crops. Oklahoma State University Extension describes 'direct sunlight' as sun that is not blocked by trees or tall buildings, and notes that north-facing building walls tend to be significantly cooler and shadier. Six or more hours of this mid-day sun is a full-sun spot. Four to six hours qualifies as partial sun. Below four hours is shade.
Water
Check whether the spot dries out quickly or holds moisture. Push your finger about two inches into the soil: if it comes up dry after a day without rain, the spot needs regular watering or a drought-tolerant plant. If it feels consistently damp or waterlogged, look for plants that tolerate wet roots (or improve drainage before planting).
Soil and drainage

Grab a handful of the soil and squeeze it. The upper layer of earth in which plants grow is often called topsoil, and its texture affects how well roots can take hold and get water. Sandy soil crumbles apart immediately, drains fast, and needs water-retaining amendments. Clay soil holds its shape in a tight ball, drains slowly, and can suffocate roots. Loamy soil (a mix) crumbles loosely after the squeeze and is what most food plants prefer. Loamy soil is a valuable material where most terrestrial plants grow well because it balances drainage and moisture Loamy soil (a mix). For schoolyard raised beds or containers, you can skip testing the native soil entirely by filling them with a standard potting or garden mix.
Space
The FAO recommends bed widths of around 1 meter for small children so they can reach the center from either side without stepping on the soil. A 'doorsize garden' of about 1.5 meters works for slightly older students. Containers and window boxes need no ground space at all, which makes them practical for classrooms with no outdoor access.
Easy plant picks for common locations
The spot you have determines the plant list, not the other way around. Here are practical matches for the locations most teachers and parents actually encounter.
| Location | Sun Level | Best Easy Plants | Why They Work Here |
|---|---|---|---|
| Sunny windowsill (south- or east-facing) | 4–6 hrs indirect/filtered | Radish, basil, cherry tomato (small pot), chives | Fast germination, compact roots, visible growth within days |
| Outdoor raised bed or planter (full sun) | 6+ hrs direct | Sunflowers, beans, lettuce, marigolds, cherry tomatoes | High light maximizes fast growth; kids can see dramatic change weekly |
| Shaded corner (north-facing wall or under a tree) | Under 4 hrs | Ferns, impatiens, mint, spinach, kale | Low-light tolerant; spinach and kale actually prefer cooler, shaded spots |
| Partial-sun schoolyard bed | 4–6 hrs | Leafy greens (lettuce, chard), herbs (parsley, cilantro), nasturtiums | NC State Extension recommends leafy greens and herbs for 4–6 hr sun spots |
| Lawn or open field edge | Full sun | Clover (native habitat plant), wildflowers, sunflowers | Natural soil; good for observational lessons on what already grows wild |
| Sidewalk planter or container near building | Varies | Marigolds, petunias, herbs, small peppers | Containers let you control soil and drainage regardless of ground conditions |
Radishes deserve a special mention for kindergarten settings: they germinate in as few as 3 to 5 days and produce a harvestable root in 3 to 4 weeks. For young children with short attention spans, that speed is invaluable. Sunflowers are close behind for 'wow factor' because the growth is visible almost daily and the scale is exciting to a five-year-old.
Season and climate matching: what to plant now vs. later
Today is mid-May 2026, which in most of the Northern Hemisphere means late spring. That timing matters enormously because the same location supports completely different plants depending on the season. This is one of the most important ecological concepts you can demonstrate to young learners: the place does not change, but the season changes what can survive there.
Right now, in the Northern Hemisphere, you are at the tail end of the spring cool-season window and entering the warm-season window. Cool-season crops (lettuce, spinach, kale, radishes, peas) were ideal to start 6 to 8 weeks ago and are now either ready to harvest or beginning to bolt in warmer climates. If your local daytime temperatures are consistently above 75°F (24°C), skip leafy greens and shift to warm-season plants.
Warm-season plants to start now (mid-May onward in most temperate zones): beans, sunflowers, cherry tomatoes, basil, cucumbers, and marigolds. These need soil temperatures above 60°F (15°C) to germinate reliably. In cooler northern climates (USDA zones 3 to 5), you may still be safe to start lettuce outdoors since nights stay cool. In warmer southern or coastal climates (zones 8 to 10), you are already well into warm-season territory.
For Southern Hemisphere locations (where it is now mid-autumn), the logic reverses: this is the time to plant cool-season crops or transition to indoor/windowsill growing for the winter months ahead.
Understanding season and climate is what separates successful plantings from frustrating ones. The broader idea that plants in specific habitats match their climate conditions, whether arctic tundra or tropical forest, is the same principle applied at the schoolyard scale.
How to start growing today: planting steps and beginner care
You do not need to wait for a perfect setup. Here is a practical sequence you can begin with materials available at any garden center or even a grocery store.
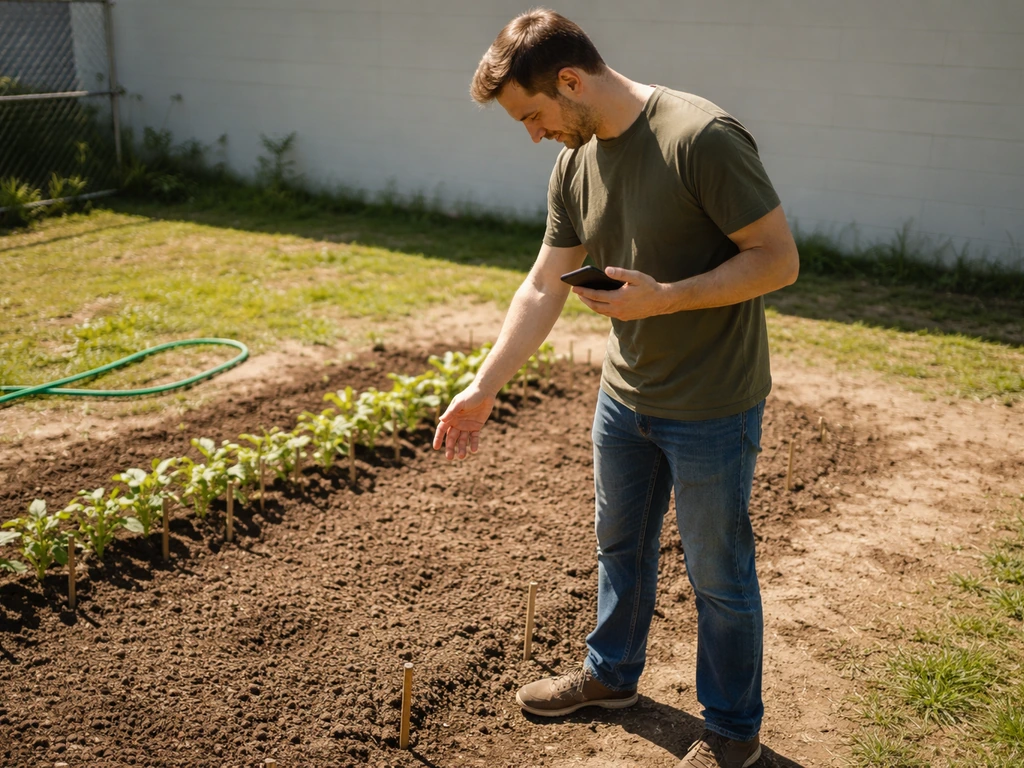
- Choose your location and run the quick spot-check above (sunlight hours, soil texture, water access). Five minutes of observation here saves weeks of failed planting.
- Pick one or two easy plants from the table that match your spot and the current season. Beans or sunflowers for a sunny outdoor bed; radishes or basil for a windowsill; spinach for a shaded cooler spot.
- Prepare the planting space: loosen the top 4 to 6 inches of soil or fill a container or raised bed with a standard potting mix. For the FAO-recommended small-child bed, aim for roughly 1 meter wide so every child can reach the middle.
- Plant seeds at the depth shown on the seed packet (a common rule is to plant a seed at a depth equal to about twice its diameter). Space seeds according to packet instructions; crowded plants compete for nutrients and light.
- Water gently right after planting until the soil is moist but not pooling. For containers, water until a small amount drains from the bottom, then stop.
- Check moisture daily by pressing a finger into the soil. Water when the top inch feels dry. Young seedlings need consistent moisture but not soggy soil.
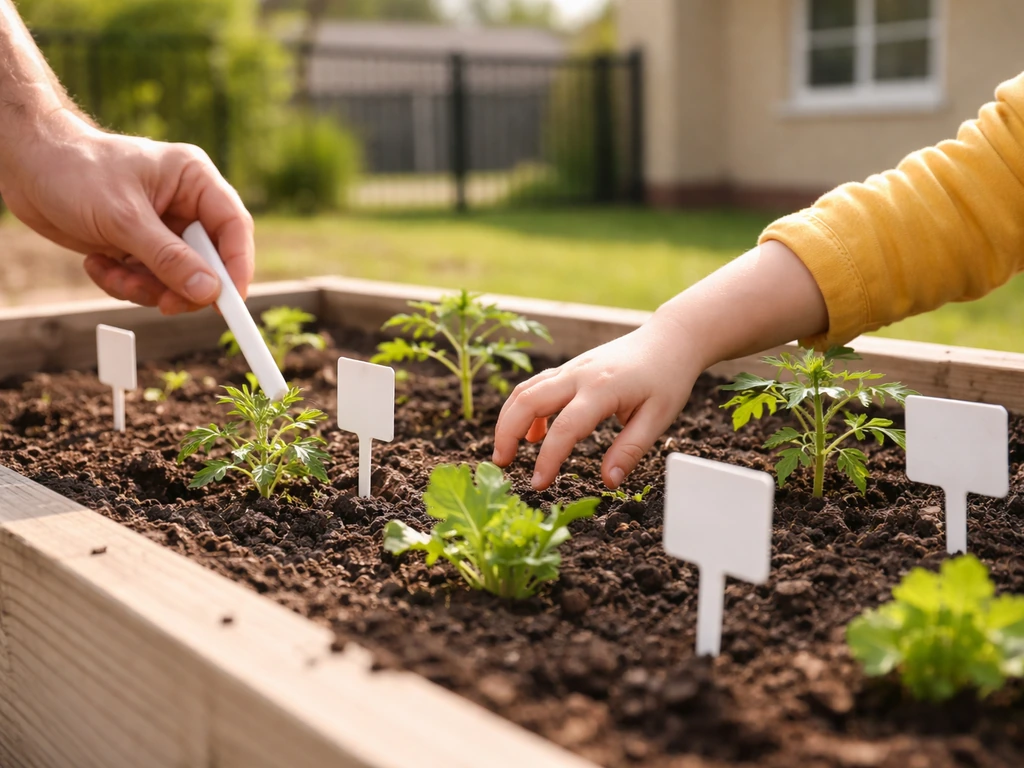
- Label each bed or container with the plant name and planting date. This small step makes the observation activities below much more meaningful for kids.
- Expect germination in 3 to 14 days depending on the plant and temperature. Beans and sunflowers usually emerge within a week in warm soil.
For ongoing care, the two most common beginner mistakes are overwatering (soggy soil rots roots) and forgetting to thin seedlings (leaving too many plants in one spot starves all of them). Thin to the recommended spacing once seedlings have their first true leaves, even if it feels wasteful.
Safety and kid-friendly learning ideas
Toxic-plant avoidance for school settings
This is the most important safety step before any school garden goes in. Several popular ornamental plants are toxic if touched or ingested by young children. Avoid the following in any space accessible to children under 8:
- Foxglove (Digitalis): all parts are toxic
- Oleander: highly toxic; common in warm-climate landscaping
- Daffodil and hyacinth bulbs: toxic if eaten, and can cause skin irritation
- Lantana berries: toxic, especially the unripe green berries
- Lily of the valley: all parts are poisonous
- Poinsettia: causes skin and mouth irritation
Stick to edible or clearly non-toxic plants in hands-on kindergarten gardens: marigolds, sunflowers, beans, peas, lettuce, radishes, basil, and nasturtiums (which are actually edible, flowers included) are all safe and engaging choices. Always check a new plant against a reliable toxicity database (such as the ASPCA or poison control plant list) before adding it to a school garden.
Simple observation activities for young learners
The best kindergarten plant activities connect place to growth in a visible, repeatable way. In common English usage, a kindergarten is a classroom for young children, often the first year of formal education. These require no special equipment and can be done in any of the locations described above.
- Seed journal: give each child a small notebook to draw the seed, then the sprout, then the seedling each week. The sequence makes the concept of plant growth concrete rather than abstract.
- Sun mapping: have kids stand in the garden at different times of day and mark where shadows fall. This builds the intuition that sun position changes, which explains why some spots grow better than others.
- Soil squeeze test: let children feel the difference between sandy soil, clay soil, and potting mix using the squeeze test described above. Connect it to the question 'which soil do you think holds more water?'
- Wild vs. garden comparison: walk to a nearby natural area (field edge, park, sidewalk crack) and compare what plants grow there with no human help vs. the plants in the garden bed. This is a hands-on introduction to the ecology of natural plant habitats.
- Rain gauge or watering log: record how much water the plants receive each week. Even simple tally marks teach kids that plants need consistent water, not just occasional flooding.
- Habitat match game: show pictures of different environments (desert, rainforest, tundra, grassland) and ask children to match a plant to its habitat based on clues like leaf shape, thickness, and color. This scales up the 'places plants grow' concept beyond the schoolyard.
The habitat match game, in particular, connects directly to what this site explores across its full range of climate zones and environments. The logic a five-year-old uses to match a cactus to a desert is the same logic an ecologist uses to map plant distributions across continents: every plant reflects the place where it evolved and thrives. Starting that intuition early, in a raised bed or on a windowsill, is genuinely useful science.
FAQ
What should I do if my “places where plants grow kindergarten” spot only gets partial sun?
If your spot gets partial sun, choose plants that tolerate 4 to 6 hours of direct light. A common workaround is to rotate containers or pots every few days so one side does not lag, because plants keep growing toward the brightest light even if the location is the same.
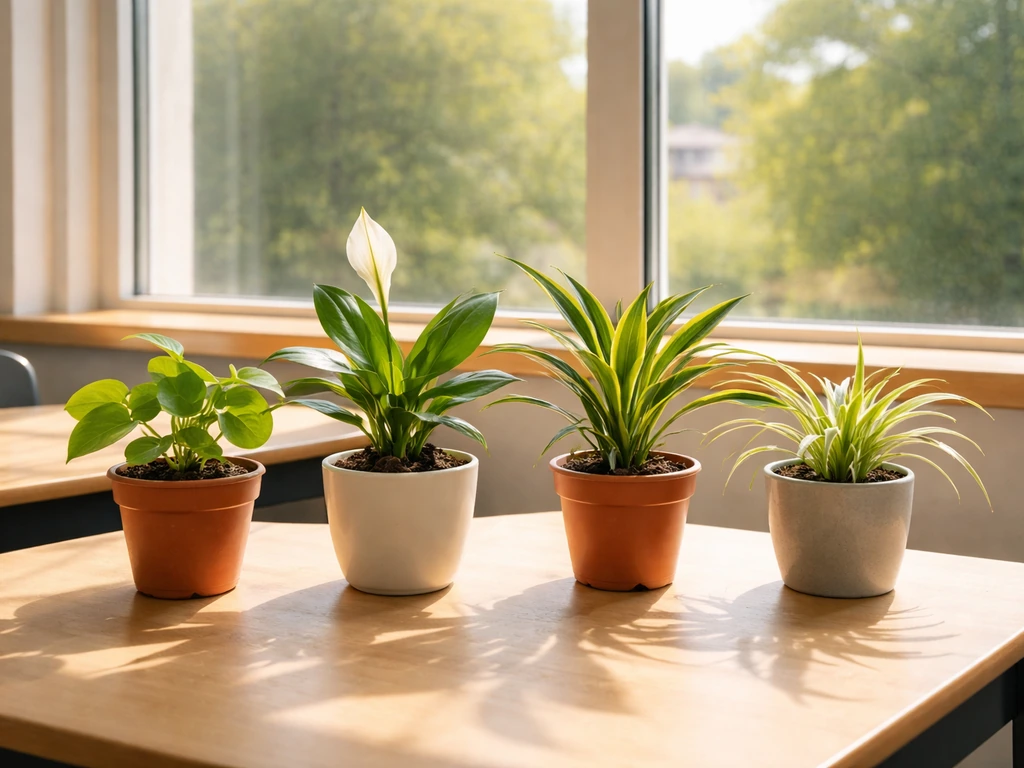
Can indoor windowsills count as places where plants grow for kindergarten projects?
Yes, but use it as a short-term habitat and plan for later. A window with strong light can support fast starters like radishes or herbs, while seedlings may need acclimation when moved outdoors to prevent wilting from wind and temperature swings.
What if the soil in our raised bed stays damp after watering, can we still plant?
In waterlogged soil, first reduce how often you water, then improve drainage before adding plants. For containers and raised beds, the fastest fix is to confirm you have drainage holes and use a garden mix or potting mix designed to drain, since garden soils can stay saturated in planters.
How do I know when to switch from cool-season plants to warm-season plants in the same place?
Use a simple timing rule instead of estimating: sow cool-season seeds earlier, then switch once days are consistently warm. A practical sign is bolting or bitter-tasting leaves, which means the plants are reacting to heat and should be replaced with warm-season crops.
How many seedlings should we keep, and when is thinning necessary?
Watch for uneven germination and thin accordingly. Too-dense seedlings compete for light and nutrients, so thin as soon as the first true leaves appear, leaving only the strongest plants at the recommended spacing.
How often should kindergarten caregivers water, especially for containers?
Aim for consistent moisture, not constant wetness. A good beginner target is watering when the top couple inches feel dry, then watering thoroughly so water reaches the root zone, and letting excess drain away afterward.
What plant choices work best for kindergarteners who need quick results and visible progress?
For fast, teachable results, pick one “quick winner” plus one “learning plant.” Radishes provide a short cycle, while sunflowers show visible growth over weeks, which helps kids compare how different plants grow even in the same habitat.
What are kid-friendly ways to handle bugs or leaf spots in a school or classroom garden?
Most pests can be managed without harsh chemicals by checking leaves daily and removing eggs or damaged leaves by hand. For common classroom settings, focus on prevention: use healthy starter plants, avoid crowding, and keep soil from staying wet too long to reduce disease.
If a plant is “ornamental” or “non-toxic,” is it still safe for edible play in a kindergarten garden?
A key edge case is toxicity versus “non-toxic.” Some ornamental plants can be harmful if ingested even if kids might touch them, so for any new addition, confirm both safety for handling and safety if accidentally eaten, using an authoritative poison-control reference.
How should our plan change if there is a sudden heat wave during the growing weeks?
Keep the seed and sprout plan the same, but adjust the harvest goal. During hot weeks, shift to heat-tolerant crops and consider harvesting leaves or flowers earlier, because maturity can happen quickly when temperatures spike.
How can I tell whether the soil temperature is high enough to start warm-season seeds?
Planting dates differ by climate, so use soil temperature as the gate for warm-season seeds. If you do not have a thermometer, a practical substitute is waiting until nights stay reliably warm, then starting warm-season crops in phases so the whole bed does not fail at once.