
When people search for 'plants that grow in air,' they almost always mean epiphytes, specifically air plants in the genus Tillandsia and their bromeliad relatives. If you're also curious about carnivorous species, you might be wondering where do pitcher plants grow and what habitat they need to thrive. These are real plants that genuinely grow without soil, anchoring themselves to tree branches, rock faces, or cliff ledges and pulling moisture and nutrients straight from humid air and rain.
Plants That Grow in Air: Examples and How to Grow Them

Dr. Marcus Weatherby
27 May 2026
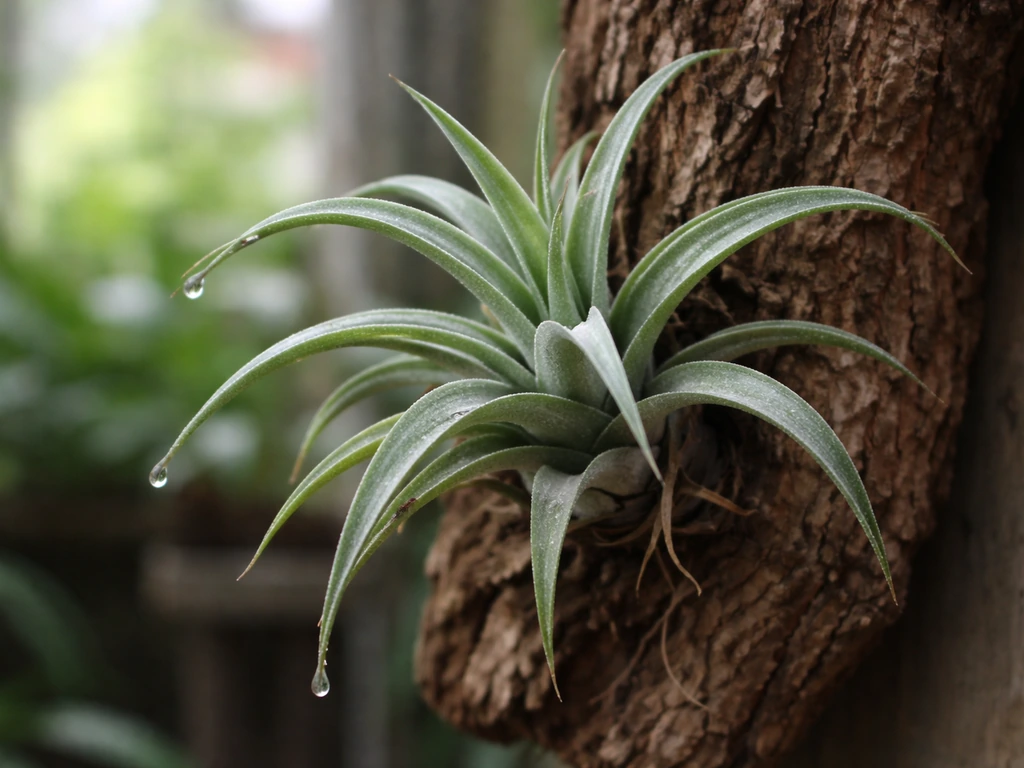
They are not mythical floating plants; they just skipped the need for roots in the ground. If you want a specific example to start with today, Tillandsia ionantha is the most forgiving beginner choice, it's widely available, adapts to a huge range of conditions from coastal tropical habitats to dry rocky savannas, and you can mount it on a piece of wood and have it thriving on a windowsill within a week.
What 'plants that grow in air' actually means
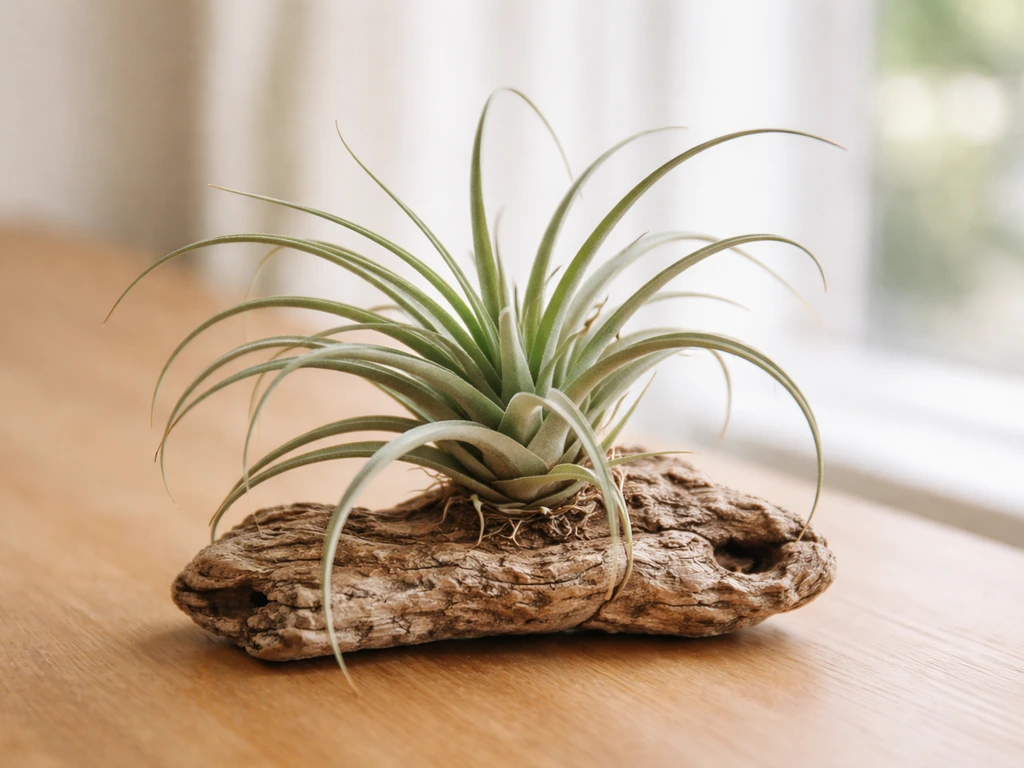
The phrase gets used loosely, so it's worth separating two very different ideas. The first is the literal interpretation: plants suspended in open air with no substrate at all. No plant does this indefinitely. Every plant needs some anchor, moisture source, and nutrient input. The second, and correct, interpretation is epiphytes: plants that grow on another plant, rock, or object purely for physical support, not for nutrients. Their roots aren't plugged into soil. Instead, specialized leaf structures called trichomes absorb water vapor, rain, and dissolved nutrients directly from the surrounding air and any precipitation that lands on them. Britannica puts it plainly: epiphytes use aerial roots to absorb moisture from humid air rather than from soil.
Tillandsia air plants are the most recognizable example in this category. They belong to the bromeliad family, and Tillandsia is actually the largest group of epiphytic bromeliads. Other aerial epiphytes worth knowing include orchids like Cattleya and Dendrobium (which also grow on bark with no soil), staghorn ferns (Platycerium), and Spanish moss, which is itself a Tillandsia species. Olympic Orchids also notes that many Tillandsias are grown without soil and are typically attached to a stick or slab, then watered or misted when they dry out Tillandsia species are grown without soil. For the purposes of growing at home without soil, Tillandsia species are the most practical starting point because they require no pot, no compost, and almost no equipment.
Real examples and where they actually come from
Understanding where these plants naturally grow tells you everything you need to know about how to care for them. If you are wondering where aerial plants like Tillandsia grow in the wild, they are commonly found on trees, rocks, and other surfaces where humid air and regular rainfall can reach their trichomes where do aerial plants grow.
For a complete guide on where to place air plants in your home, see where to grow air plants where to care for them. If you are wondering where pitcher plants grow, the answer is different from epiphytes like Tillandsia, since they depend on wet, nutrient-poor habitats instead of humid air where do pitcher plants grow.
Tillandsia ionantha, for example, turns up across a remarkable range of habitats: xeric tropical zones, mangrove edges, coastal cliffs, rocky savanna, chaparral, and riparian corridors. That ecological flexibility is exactly why it performs well indoors for beginners. Other species are more specialized. Tillandsia usneoides (Spanish moss) drapes from oak and cypress trees across the southeastern US, where it gets regular humidity and dappled light.
Tillandsia xerographica, with its wide silvery leaves, comes from drier highland forests in Mexico and Central America and needs much less frequent watering than its moisture-loving relatives.
Penn State Extension's framework for Tillandsia divides species into two useful categories based on habitat. Mesic types come from more humid, shaded environments and have smoother, greener leaves with fewer trichomes. Xeric types come from drier, sunnier habitats and have denser, fuzzier trichomes that are more efficient at pulling moisture from the air. Soft green-leafed species like T. stricta generally prefer more moisture and shade. Silvery or banded species like T. xerographica and T. ionantha lean xeric and tolerate lower humidity and brighter light. Knowing which type you have directly shapes your watering and placement decisions.
| Species | Natural Habitat | Leaf Type | Light Preference | Watering Need |
|---|---|---|---|---|
| Tillandsia ionantha | Rocky savanna, cliffs, mangrove edges, riparian zones | Small, silvery-green | Bright indirect to some direct | Soak 1–2x per week |
| Tillandsia xerographica | Dry highland forests (Mexico, Guatemala) | Wide, silvery, curling | Bright indirect to direct | Soak every 10–14 days |
| Tillandsia stricta | Humid tropical forest understory | Green, narrow | Medium indirect | Soak 2–3x per week |
| Tillandsia usneoides (Spanish moss) | Subtropical swamps, riverbanks, oak canopy | Thread-like, grey-green | Dappled/filtered light | Mist daily or soak frequently |
| Tillandsia caput-medusae | Dry oak-pine forest, rocky outcrops | Bulbous base, twisted leaves | Bright indirect | Soak weekly, drain thoroughly |
How to grow them at home: light, airflow, and water
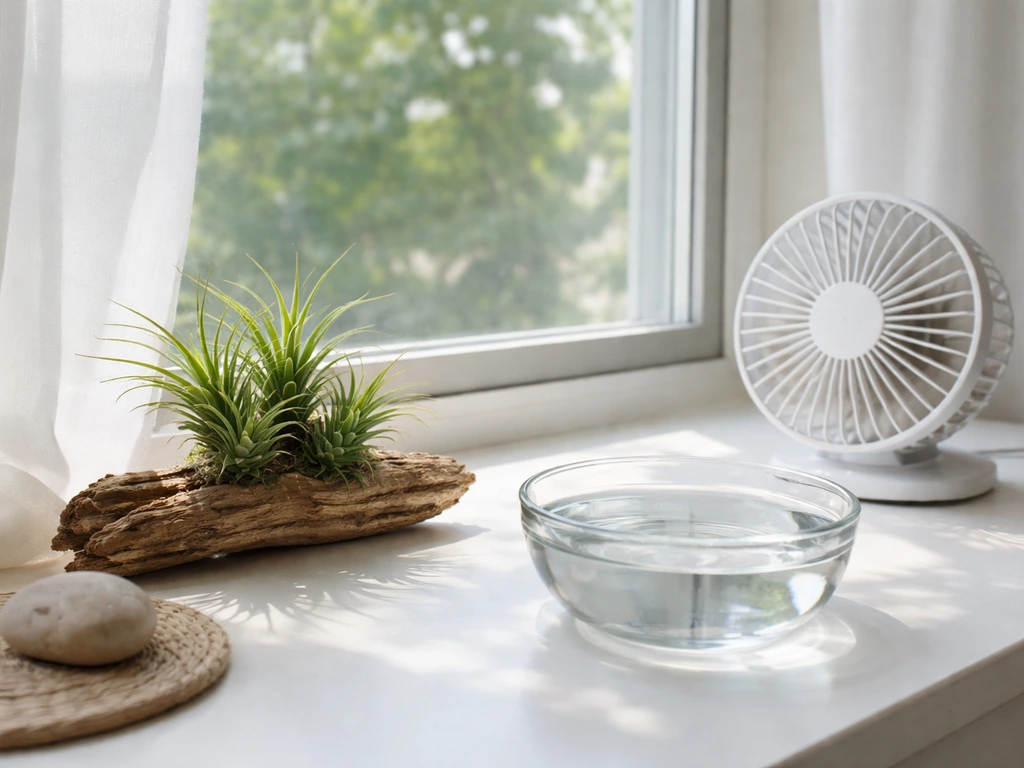
The care framework for Tillandsia is straightforward: light, airflow, and water. Get these three things right and these plants are genuinely low-maintenance. Get one wrong and they either rot or slowly dehydrate.
Light
Most Tillandsia species do best in bright indirect light, roughly equivalent to within 1 to 2 meters of a south- or east-facing window. Xeric species tolerate and even prefer some direct morning sun. Avoid harsh afternoon direct sun indoors because it desiccates the leaves faster than the plant can rehydrate. In their natural habitats, most of these plants grow under partial canopy or on exposed rocky surfaces where light is bright but broken. A north-facing windowsill is generally too dim for healthy growth long-term.
Airflow
Airflow is non-negotiable. In nature, these plants evolved on exposed branches and cliff faces where air movement is constant. At home, good airflow serves two purposes: it helps the plant dry out properly between waterings, preventing rot, and it supports the transpiration and gas exchange the plant needs to thrive. Kitchens and bathrooms are often recommended for their ambient humidity, but make sure there is some air movement, either from a nearby window, a ceiling fan, or occasional ventilation. Stagnant, still air creates exactly the conditions that cause crown rot. Never place a Tillandsia in a sealed terrarium or glass globe with no ventilation.
Watering and soaking schedules
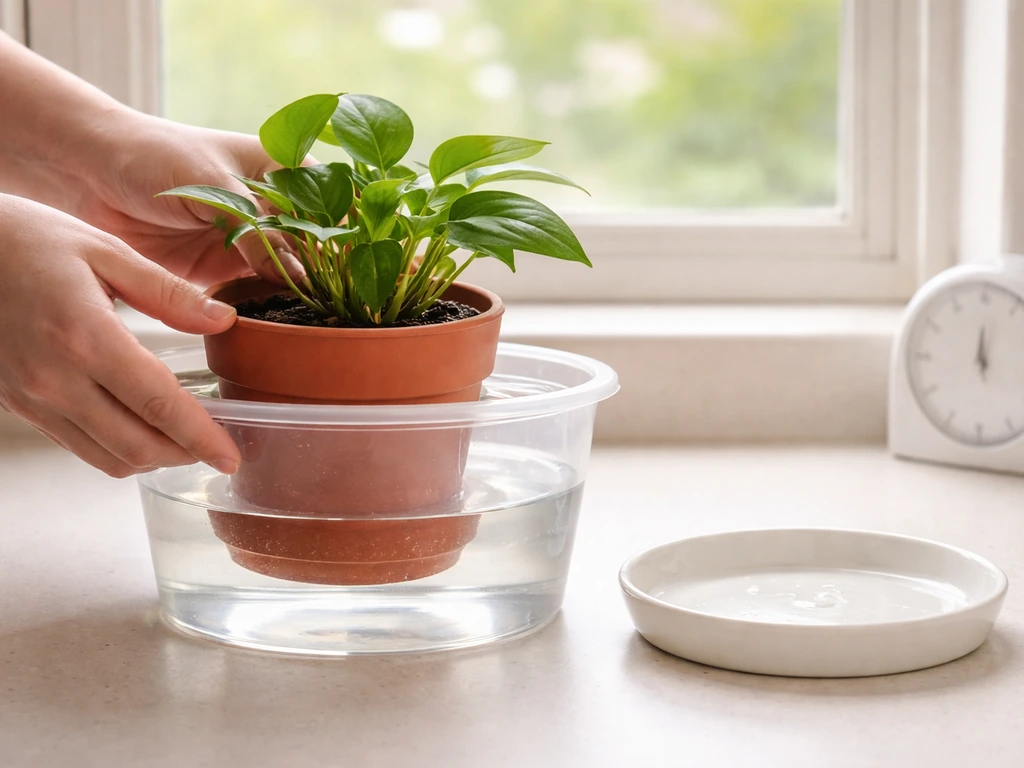
Soaking is the most reliable watering method, not misting. This is worth emphasizing because misting alone does not provide enough moisture for long-term health. The RHS is direct on this: misting between soaks can reduce dehydration stress in warm conditions, but it should not replace immersion as the primary watering method. For most species from spring through autumn, submerge the plant in room-temperature water (rainwater or filtered water is ideal) for 20 to 30 minutes, once or twice a week.
After soaking, shake off excess water gently, then dry the plant on its side or upside down for at least an hour before returning it to its display position. UMN Extension provides a practical example of soaking air plants in water for up to two hours, then shaking off excess water and drying them before returning them to display soaking in water for up to two hours.
This drying step is critical. Water sitting in the crown or leaf axils is the primary cause of rot.
In winter, when indoor air is drier and light levels drop, watering frequency should decrease. The plant's growth slows and its water demand drops with it. Move to once a week or once every ten days depending on how warm and dry your home is. If your home has central heating running all winter, your plants will dehydrate faster than you might expect, so monitor leaf texture (slight curling or rolling inward is a sign of thirst) and adjust accordingly.
Mounting and soil-free setups
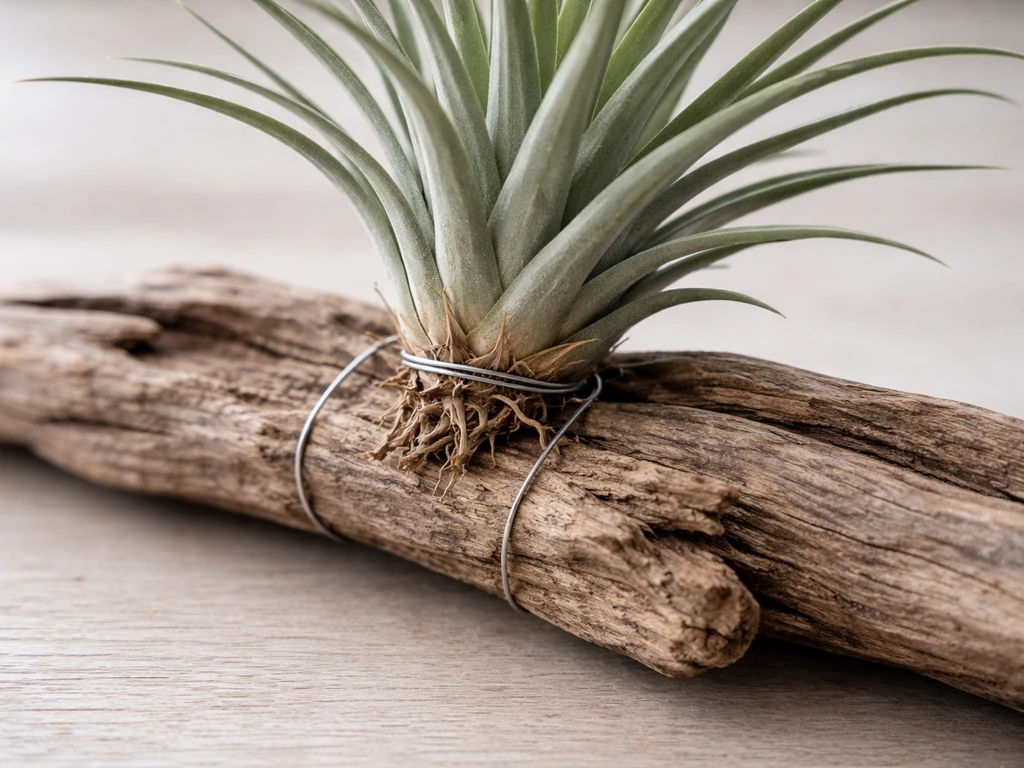
Mounting a Tillandsia on bark, driftwood, or a rock slab is the most natural way to display it and the setup that most closely mimics its wild environment. Use a non-copper wire, fishing line, or waterproof glue (like E6000) to attach the plant's base to the surface. Avoid copper wire because copper is toxic to Tillandsia roots. The key mounting rule from the RHS is to angle the plant so it faces slightly downward. This lets water drain out of the crown after soaking rather than pooling inside the rosette where it causes rot. After each watering, give the mounted plant a gentle shake to dislodge any droplets sitting in the leaf bases.
If you prefer a container-style display, use an open vessel with no drainage hole needed, since there's no soil to waterlog. A glass bowl, a wooden tray, or a wire basket all work well as long as the plant is not sitting in pooled water. Pebbles, sand, or moss can provide a decorative base, but the plant itself should rest above any wet surface. Humidity targets for optimal indoor conditions sit around 40 to 60 percent relative humidity. In drier climates or in winter when heating systems strip indoor air moisture, a small humidifier nearby or regular misting between soaks helps bridge the gap.
Troubleshooting common problems
Brown, crispy leaf tips
This is almost always a sign of low humidity or insufficient watering. The RHS notes that when ambient humidity is low, Tillandsias transpire quickly and can lose moisture from their leaves faster than they absorb it from the air. Increase soak frequency, add supplemental misting between soaks, or move the plant to a more humid location. Cutting off brown tips with clean scissors at a slight angle improves appearance without harming the plant.
Soft, mushy base or crown rot
This is the most serious and most common problem for beginners. It happens when water sits in the crown or base for too long, especially combined with poor airflow. The fix is prevention: always drain and dry after soaking, mount at a slight downward angle, never place in a sealed container, and ensure air moves around the plant. If the base turns soft and dark, remove affected leaves back to firm tissue. If the rot has reached the growing center, the plant likely cannot be saved.
No growth or very slow growth
Usually a light problem. Move the plant to a brighter spot. Tillandsia growth is slow by nature, especially in winter, but if you see no new leaf growth at all over several months during the growing season, increase light first, then reassess watering. A diluted, low-nitrogen, bromeliad-specific liquid fertilizer applied once a month during the growing season (mixed at quarter strength into the soaking water) can also help in low-nutrient indoor settings.
Pests
Scale insects and mealybugs are the most frequent pests on Tillandsia and bromeliads. Both Clemson Extension and UNH Extension flag these as the primary insect threats. Scale appears as small, flat, brown bumps on leaf surfaces. Mealybugs show as white cottony clusters, often in leaf axils. Treat either with a cotton swab dipped in rubbing alcohol applied directly to the pest, or with a diluted isopropyl alcohol spray. Remove badly affected leaves and isolate the plant from others until clear.
Matching your plant to climate, season, and indoor vs outdoor conditions
In warm, humid climates (USDA zones 9 to 12, or subtropical equivalents), many Tillandsia species can live outdoors year-round mounted on trees or fences, which mirrors their natural habitat most closely. In temperate climates, they move outdoors in spring and summer when nighttime temperatures stay above 10°C (50°F) and come back inside before the first frost. Outdoor placement in summer dramatically improves air circulation and ambient humidity, and many growers notice significantly faster growth when plants spend warm months outside under a shaded patio or tree canopy.
Indoors, seasonal adjustments matter more than most beginners expect. During summer, your plant may need soaking two to three times a week because warmth speeds up transpiration and drying. In winter, the combination of lower light, slower growth, and reduced transpiration means once-a-week or even once-every-ten-day soaking is usually enough. The exception is if your home has very dry forced-air heating, in which case you may need to maintain or even increase misting frequency even as you reduce soak frequency. The best diagnostic is the plant itself: slightly rolling or inward-curling leaves signal thirst; soft or darkening base tissue signals excess moisture.
If you are interested in how these plants grow in their natural range rather than just at home, topics like where air plants grow naturally and where aerial plants grow in the wild give a much deeper picture of the climate zones and canopy conditions these species evolved in, which in turn informs everything about how to replicate those conditions indoors.
Your starter plan: first plant, setup, and week one
If you want to get started today, here is a practical sequence that covers everything from plant selection to your first week's routine.
Step 1: Choose your plant
Start with Tillandsia ionantha or Tillandsia stricta. Both are widely available, forgiving of minor mistakes, and will tell you quickly through their appearance whether something is wrong. T. ionantha is more xeric and tolerates slightly drier conditions. T. stricta is more mesic and rewards slightly higher humidity. Either one is a better starting point than T. xerographica, which is slower-growing and less communicative about its needs.
Setup checklist
- Choose a spot within 1 to 2 meters of a bright window (east or south-facing preferred)
- Ensure there is some air movement in the room, open a window occasionally or use a fan on low
- Prepare a soaking vessel: a bowl or container large enough to submerge the plant fully
- Source rainwater or leave tap water out overnight to off-gas chlorine
- Mount on cork bark, driftwood, or a rock slab using fishing line or waterproof glue, angled slightly downward
- Alternatively, place in an open glass bowl or tray (not sealed, not in standing water)
- Have a soft cloth or paper towel ready for the post-soak drying step
Week one routine
- Day 1: Soak the plant for 20 to 30 minutes in room-temperature water, then shake gently to remove excess water, and let it dry upside down or on its side for 1 to 2 hours before placing it in its display spot
- Days 2 to 3: Observe the leaves; if they look hydrated and open, airflow and light are working
- Day 4: Mist lightly if the environment is warm or dry, but this does not replace the next soak
- Day 5 or 6: Do the second soak of the week (same 20 to 30 minute immersion), shake off water, dry before returning to display
- Day 7: Check the base and crown for any soft spots or darkening (signs of trapped moisture) and adjust mounting angle or drying time if needed
- End of week one: Decide if your plant looks brighter and more open (well-hydrated) or rolled/curled (thirsty), and adjust the next week's frequency up or down by one soak accordingly
After two to three weeks on this routine, the plant's own appearance becomes your best guide. Tillandsias are honest plants: they show you exactly what they need if you know what to look for. Get the soak-and-dry cycle right, keep the air moving, and match light to your species type, and you have essentially replicated the conditions that let these plants thrive across dozens of habitats worldwide without a single gram of soil. Spider plants, in contrast, do best in the ground and grow naturally in regions where summers are warm and frost is limited, including parts of South Africa.
FAQ
Are there really “plants that grow in air” with zero support and no substrate?
No, not in the long run. Even epiphytes need a reliable moisture source plus an anchor. In practice, you either mount the plant on something (bark, wood, rock) or place it in an open vessel where it can still be soaked and then fully drained.
Can I grow air plants in a terrarium or glass globe?
Avoid clear sealed containers, cloches, or glass globes with little airflow. If you want a glass display, use an open top or at least frequent ventilation, because trapped moisture in the crown raises crown-rot risk.
How does high humidity change watering for air plants?
Yes, but do it deliberately. After soaking, dry the crown thoroughly (shake well, then let it rest upside down on a towel). In rainy climates or high humidity, shorten soak frequency and rely on drying and airflow more than on more water.
Is misting enough if I can’t soak my air plant?
In most homes, yes, but only if you still provide good drying conditions. If you mist, mist only between soak cycles and always keep airflow steady, never relying on misting alone because it does not refill the plant the same way immersion does.
How can I tell the difference between underwatering and rot?
Most Tillandsia show thirst as gradual inward leaf curling or a less firm, slightly wrinkled look. Rot shows as soft, dark, or spreading tissue at the base or in the center, and it usually comes with prolonged wetness plus stagnant air.
What water should I use for Tillandsia, and does tap water matter?
Use distilled, rainwater, or filtered water when possible, and avoid strong salt buildup. If you live with hard tap water, salts can accumulate on leaf bases over time, so soak and rinse more thoroughly and periodically.
Should I fertilize air plants, and what’s the safest schedule?
Fertilizer can help, but keep it light and infrequent. If you feed, use a low-nitrogen bromeliad fertilizer at about quarter strength, apply during the growing season only, and do not fertilize more often than about once a month.
Is a north-facing windowsill ever okay for air plants?
Measure the actual spot you plan to use. A plant that looks “bright” to you may still be too dim if it is not near a window, or if it is behind sheer curtains, so place xeric plants closer to light and adjust gradually.
How do I know whether my air plant is xeric or mesic?
Don’t assume all air plants behave the same. Xeric types generally tolerate brighter light and longer gaps between soaks, while mesic types need slightly more consistent humidity, smoother leaves, and more forgiving placement.
What’s the safest way to mount an air plant on wood or bark?
Choose non-copper fasteners and plan for drainage of water from the crown. Copper wire and some metals can harm plants, and wiring too tightly can stress the base, so attach securely but allow the plant to sit at a slight downward angle.
Can I leave air plants outside year-round?
Yes, but there are limits. Outdoors helps airflow and humidity in many climates, yet you must bring plants back before frost and protect from harsh afternoon sun if the species is not drought-tolerant. A shaded patio or under-tree placement usually works best.
Should I cut brown tips, and when is it a bad sign?
Some browning is cosmetic, especially at leaf tips, and you can trim it with clean scissors. If browning spreads from the base or looks soft, that points to rot, not dryness, and you should remove affected tissue back to firm growth.
What should I do if I find scale or mealybugs on my air plant?
If the pest is localized, isolate the plant first, then remove visible pests physically with a cotton swab dipped in alcohol. Persistent outbreaks often require repeating treatment because eggs and hidden scale can survive the first pass.
Why is the post-soak drying step so important?
After soaking, shake off droplets and let the plant drain upside down for at least an hour, then put it back in its display. Skipping the drying step, even once, is one of the quickest ways to trigger crown rot.